Pages

Monday, October 1, 2012

SV Kooky Dance still needs a dinghy.

We are still in need of a dinghy for our Caliber 40 "KOOKY DANCE" and decided we would build a hard one and have a roll up inflatable as well.


We did some research and found the Chesapeake Light Craft nesting dinghy called the Passagemaker.  The Passagemaker is a 12' LOA pram style rowboat with an available sailing rig. The available space on the foredeck forward of the mast on the Caliber 40 was 8' 4" and the CLC Passagemaker (when nest) was 7' 9" but stood about 24" high when nest and was going to prove a tight fit. 

My wife with the new owner during the maiden voyage.

Not detered we ordered and built the CLC Passagemaker.  It took us about 2 1/2 months but the results were worth the effort.  It is a great little boat that rowed like a dream.

The new owner has already run aground in my front yard.

 We even rigged it up with some sails and gave the new owner some basic sailing instructions which will be augmented with on the water instructions.

Then we learned of the Port Townsen PT11 nesting dinghy from an article in Cruising World written by Fatty Goodlander.  Again I did some research and found the reviews great on the PT11 and from the construction detail available on there website (http://ptwatercraft.com/ptwatercraft/Welcome.html) it appear to be a pretty rugged little boat.  Add to the fact it would nest down to 6' and was not as tall when nested, made it a combination of PT11 characteristics that made it a much better fit for the foredeck on the Caliber 40.  I had not even finished the Passagemaker when I started talking about this other boat that may be a better fit. Fortunately I found an excited buyer for Passagemaker where I work who wanted regular updates on his boat as it was constructed.  The new one even participated in cutting the boat in-two.   On the maiden voyage with the new owner I nearly handed him back his check with my apologies.

We ordered the PT11 and waited.

It started off with the crate and reading the manual a couple of times.  All 286 pages of it.  A very good manual by the way.

There was alot of prepping and we had to build a big ole table to boot but last weekend the PT11 started looking like a boat.  We also got the foil kit and worked thru those steps as well.

We had a little problems with bubbles in the epoxy that had to do with temperature.  I was wiping down the rudder and dagger board with denatured alcohol before coating to get rid of all the finger prints.  This had the effect of cooling down the wood and in Houston Texas the ambient temperature was in the 90's.  If the coated piece heats up after the coating is applied it can outgas.  I actually started using a heater in the garage that I would use to heat up the wood and table.  I would shut the heater off before I started epoxying.  that decrease the formation of bubble alot but not completely.  It also made the work miserably hot.

Anyway as we (my wife and I) worked thru this we got to the point in the manual (about page 24 of 286) that we could start making it look like a boat.  This weekend things really moved along compared to previous weeks.  Mosting because it did not involve very much epoxy.  What needed gluing was done Friday night and the rest of the weekend was left for drilling and stitching.

We are pleased with the results and the alignment looks pretty straight.  Some of the scribe marks on the panels as well as some of the tongues are also missing which makes checking the alignment a little more challenging but the quality of tha materials and design made it come together pretty good.

More on the next post.

Saturday, September 8, 2012

The dingy gets a set of sails

 Here is the dingy with sails...the next step...in the water for a test sail.
 If you are wondering who is sitting in our boat..well...it's Brian the new owner.  We sold this dingy to him because we found one that better fits on our Caliber....so we will be building ANOTHER dingy starting next week.  Stay tuned for the more pics.
 The first sail going up....
Brian added these cool wheels so one person can move the dingy.  Great idea !!

Sunday, July 22, 2012

Close......


We are so close to being finished with this dingy.  We only have to paint the bottom white and run the rigging for the sails.

Sunday, July 15, 2012

We cut the dingy in half.....


We are building a nesting dingy and therefore we must cut the dingy in half.  We knew this all along but it was STILL traumatic when it is actually cut with a real saw.  Scott and Brian A. used a lot of nervous energy and sweating to cut the boat and with the exception of a few mis-steps with the saw it turned out really good.

Saturday, July 7, 2012

A lot of progress on the dingy

Here are some updated photos of the CLC dingy.  We will soon be cutting the boat in half and of course I will post photos of the traumatic event.


Monday, June 4, 2012

Dingy Dance....and the beat goes on.......

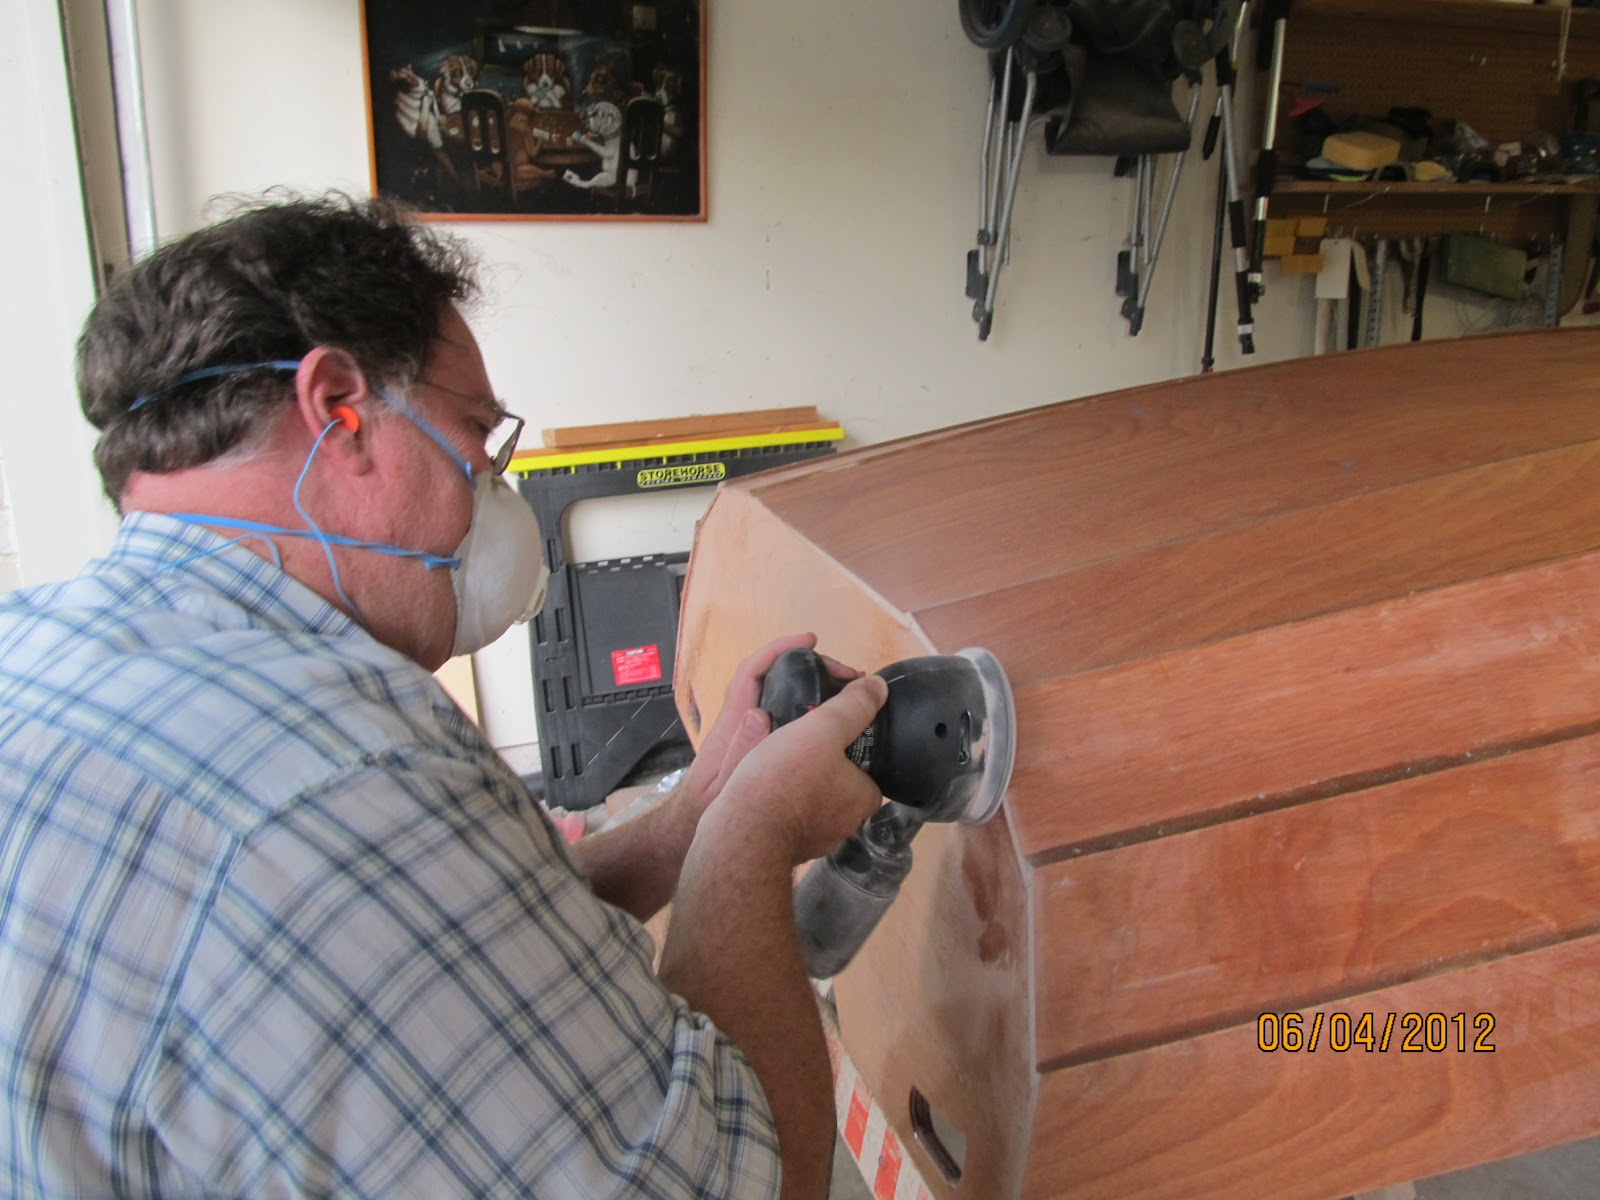
Here are some more updated photos of building the dingy.....The bottom is fiberglassed and the transoms are level.